This will guide you through installing CLWC successfully onto your computer.

Firstly, locate the installation file you downloaded and double-click it to start the installation process.

When the installation process begins, you will be presented with a welcome screen, click "Next" to proceed.
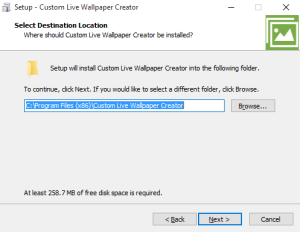
Now you have the option to change where you want to install CLWC (Its best to leave this option alone), click "Next" to proceed.
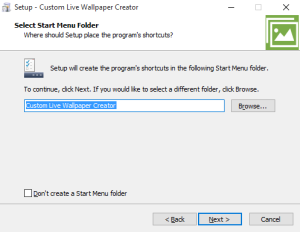
Now you have the option of creating a folder in the "Start Menu", by default we do this. If you don't want to have one, just check the "Don't create a Start Menu folder" option, and click "Next" to proceed.
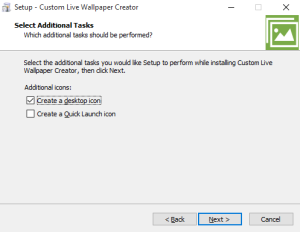
You now have options to create a few shortcut icons, by default we create an icon on your Desktop, feel free to pick and choose which ones you want and then click "Next" to proceed.
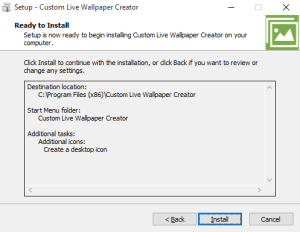
This is just a confirmation screen, if you are happy to proceed then just click "Install".
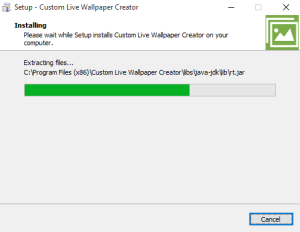
CLWC is now being installed and will be completed in a few moments.
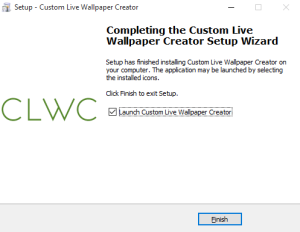
Congratulations, you have successfully installed CLWC onto your computer and when you click "Finish", CLWC will automatically start, if you don't want to start it just yet, simply uncheck the option.
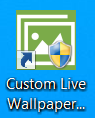
If you do decide to start it later, then you can simply launch CLWC from the icon on your Desktop.
